My Top Six Tools for Wedding Setup
Hello, September! It’s my birthday month! I’m turning 39!
Made Floral also just celebrated our TENTH birthday. We’re definitely feeling the new year vibes over here, and I’m sure most of you are, too—with kids back to school and new goals being set as we head into Q4, there’s an undeniable energy of refreshed intentions.
I’ve loved this time of year since I was a kid. Shopping for new school supplies was always a yearly highlight for my creative younger self. Freshly sharpened pencils, clean notebooks, new boxes of crayons or paints. I just signed up for an art class that starts next week, “Acrylic Painting,” and I have my own list of art supplies that I’m shopping for. Perhaps you’re learning more about flowers or getting more serious about starting a flower event business. The tools we use to get the work done set us up for success, and I’m excited to share the top six tools I could not live without on wedding setup.
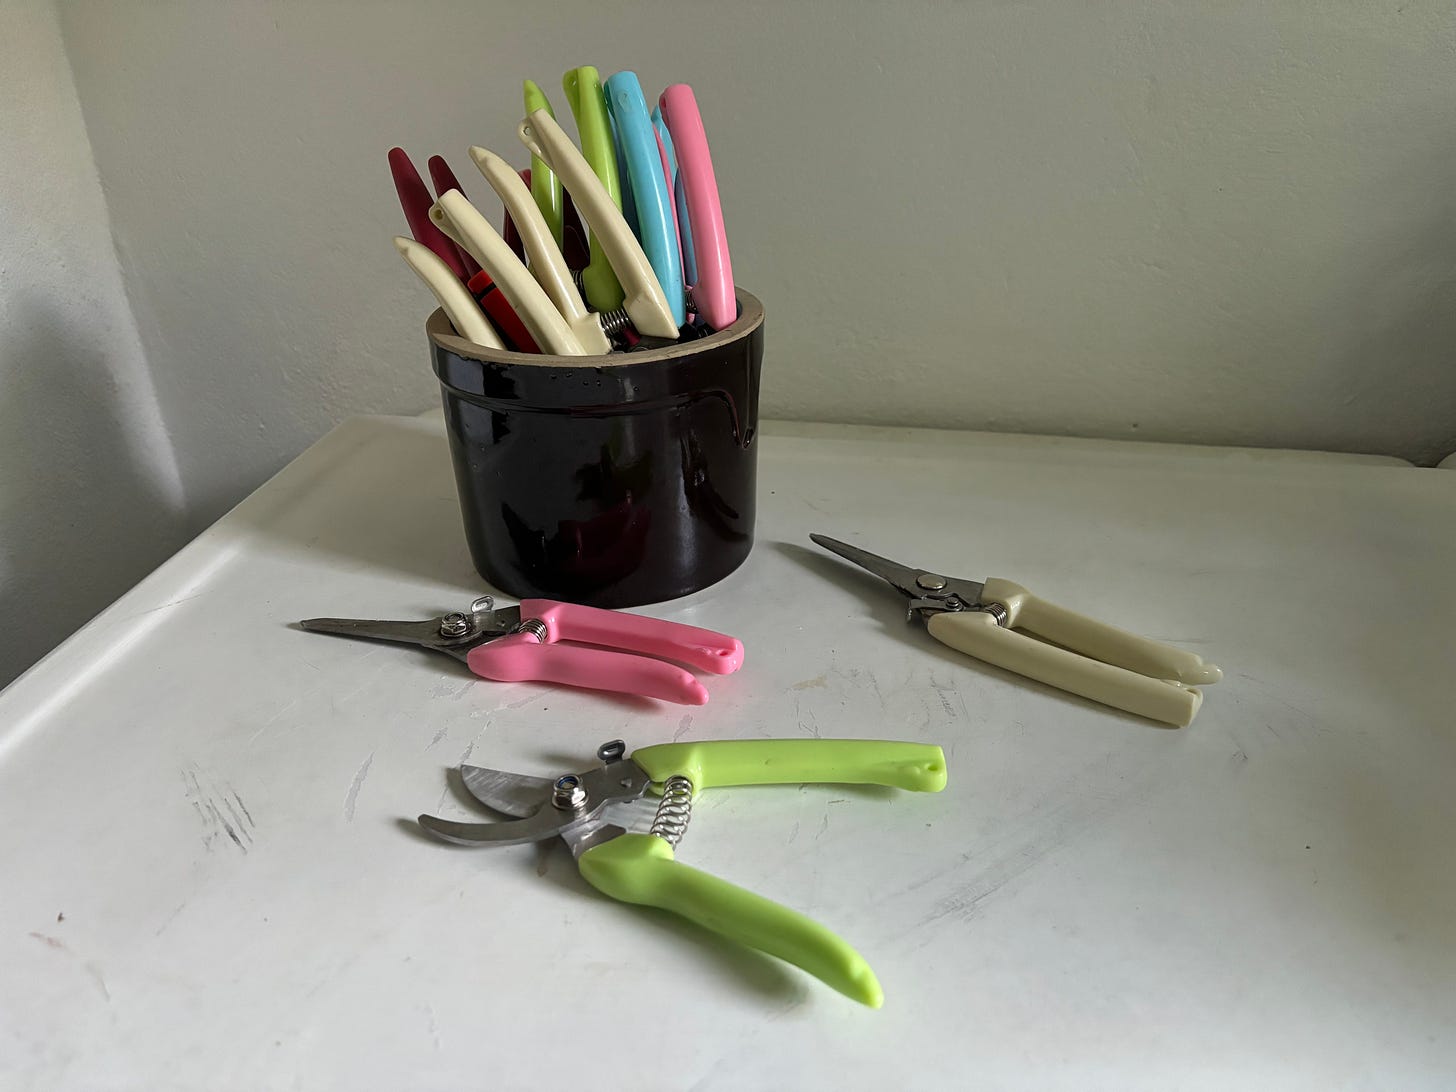
1. Clippers
Hands down, clippers are the number one tool for floral work on weddings. I walk around with my clippers all day long, sticking out of my back pocket or dangling from my hand as I’m carrying buckets of flowers, my Yeti, cell phone, wallet, and I usually have at least a few extra pairs in the van. I never buy an expensive pair. It’s practically inevitable that I’ll accidentally leave my clippers behind along a ledge where I was just designing or that I’ll forget them in a pile of floral debris and throw the whole pile in the trash (this has happened with my car keys more times than I’d like to admit). So, trust me, if you’re doing floral work for events, never buy expensive pairs like Felcos. Not worth it. You’re going to lose them.
Why not cut all of the flowers ahead of the setup time and leave the clippers at home? A main reason you always want your clippers by your side is that a fresh flower cut is critical to having beautiful wedding flowers. The cut end of a flower stem becomes clogged with bacteria over time, and giving the stems a fresh cut regularly allows for the flower stem to hydrate again. Hydration is life. I walk around the venue making sure to give the bridesmaid’s bouquets a fresh cut before I add them to their vases. Any fresh flower that I add to a vase, chuppah, mandap, anything, I always always always give it a fresh cut. If I don’t, there’s a good chance that flower will die within the hour, especially if the flowers are in sun (and they usually are).
Because clippers can pick up the very bacteria we’re trying to clip off, they need to be sanitized regularly. Not cleaning your clippers is not very nice for your stems, and it can have devastating effects on an entire floral event.
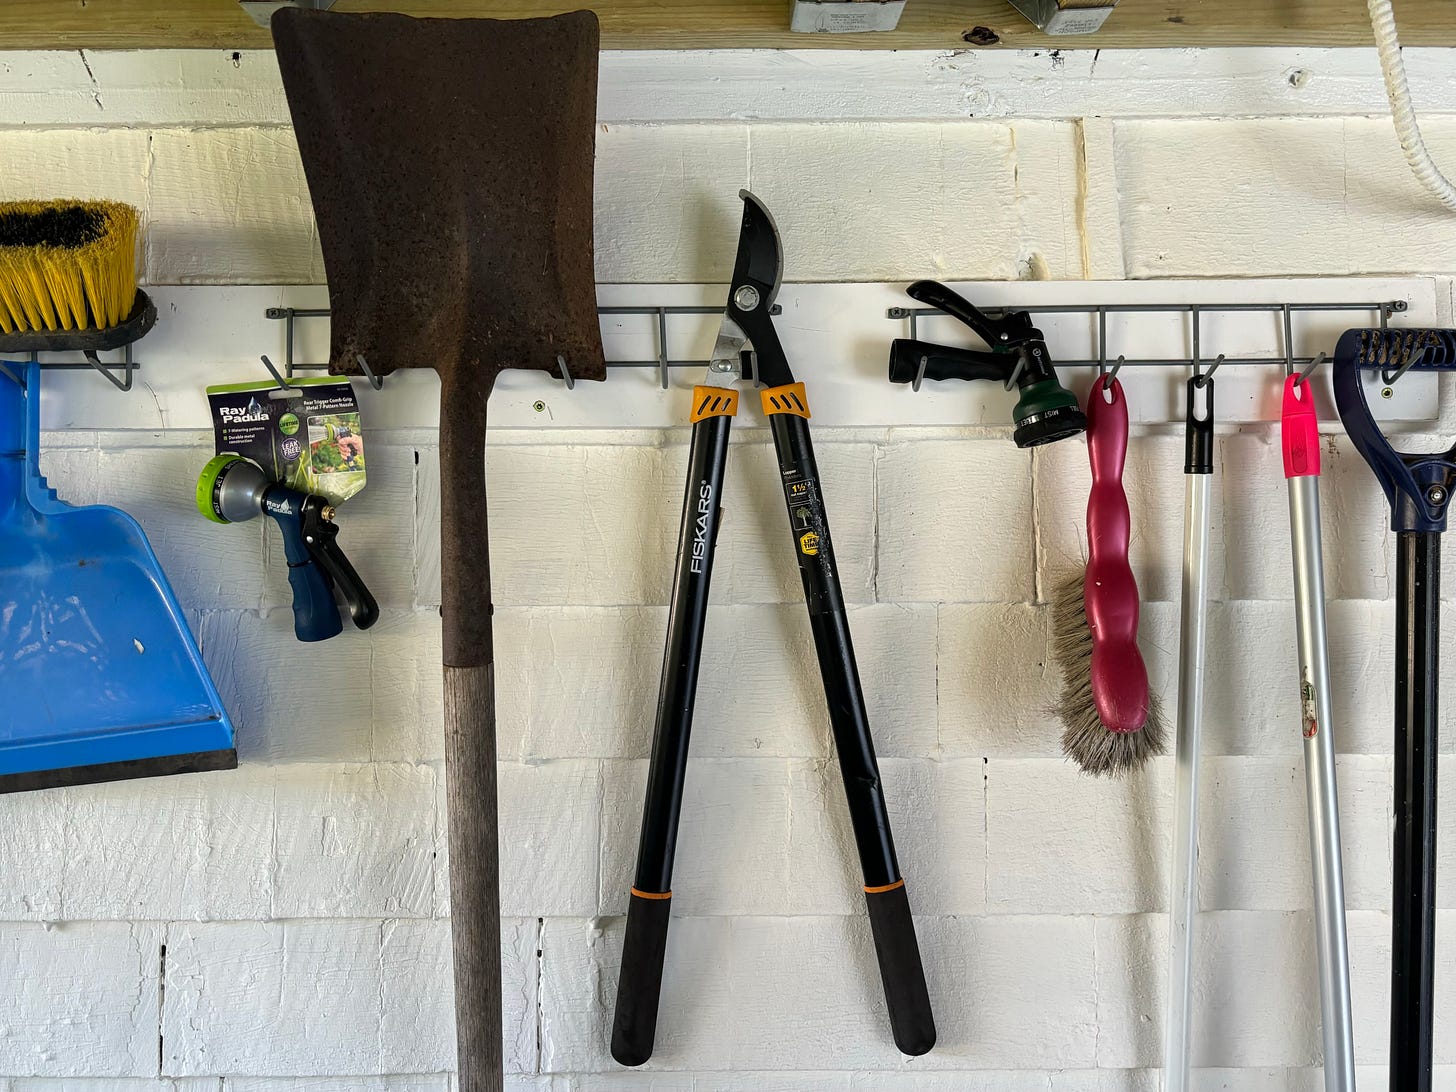
2. Loppers
Loppers are basically dinosaur-sized clippers. They are much larger, and they make cutting branches a breeze. Blooming branches, like cherry blossoms and magnolia, are mediums that I work with often. Loppers cut these branches like butter, and I always have them handy in case we run out of foliage for a setup and we need to go on an adventure for some “midnight gardening” (foraging overgrown branches in the woods or on the side of the road).
3. Zip Ties
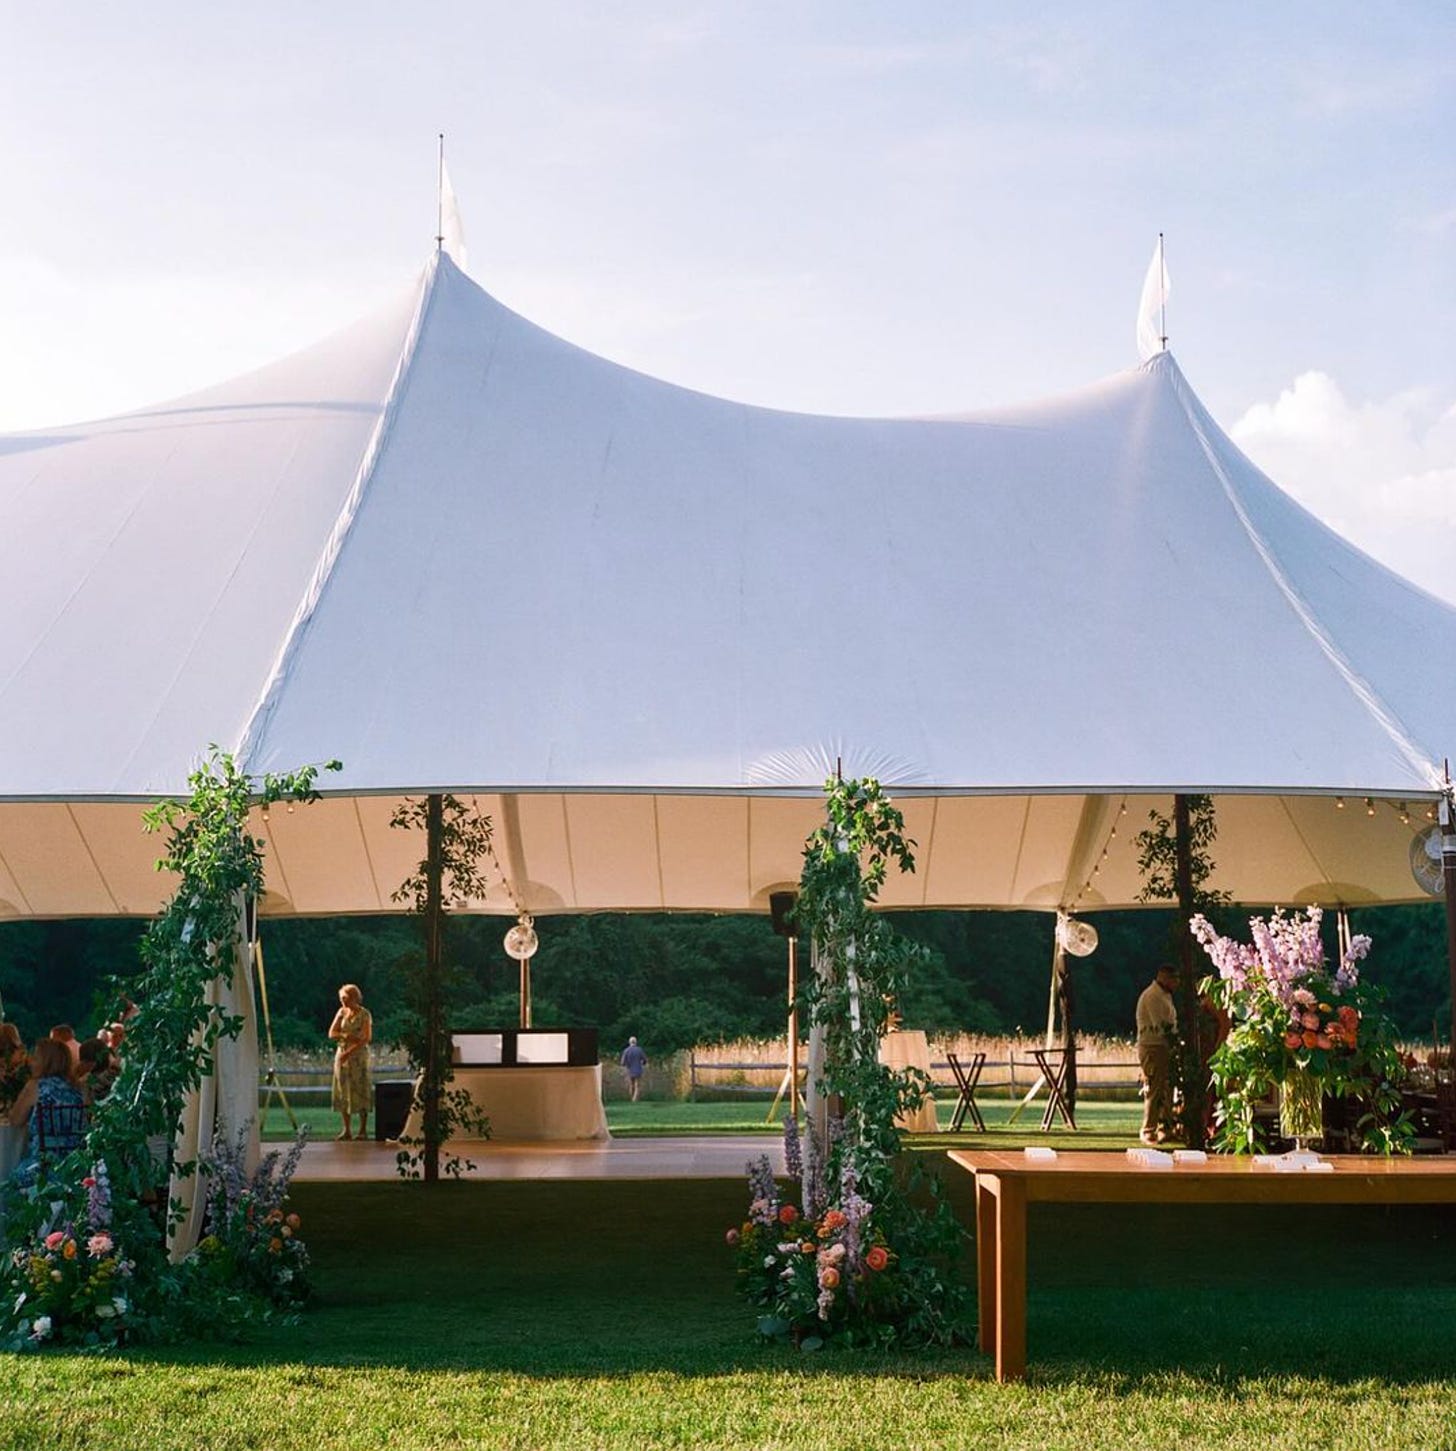
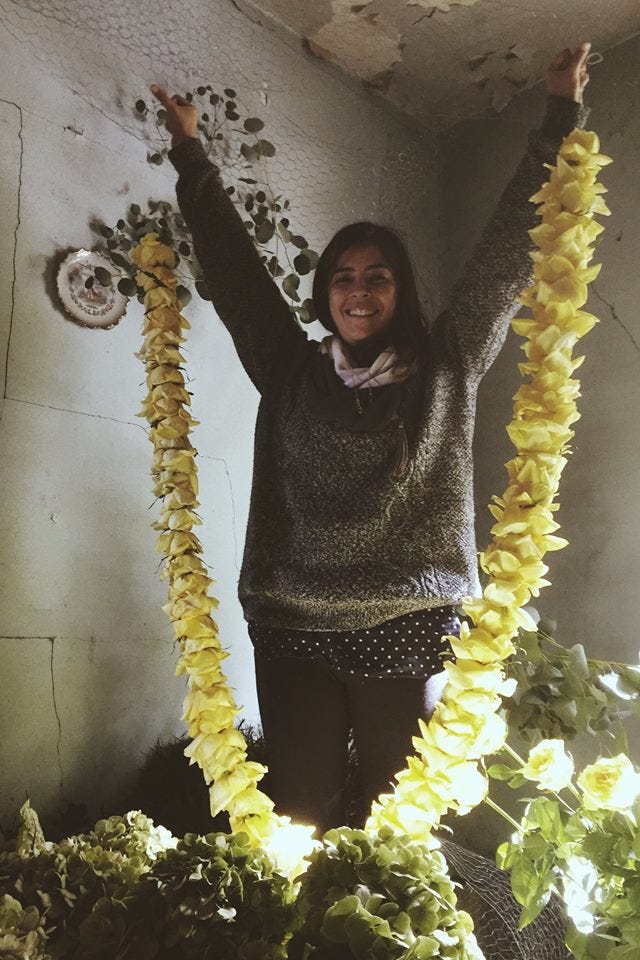
A zip tie is a hero during a wedding setup. Need to fasten a floral garland to a chair and need it to be done quickly? Zip ties. Need to wrap heavy greenery to a fifteen-foot tent pole? Zip ties. Need to create a grid as a base to add flowers to a ceremony structure? Zip ties. Floral installations with hundreds of flowers hanging above the dance floor? Zip ties. They’re the answer to most of my flower challenges, and they’re always there to help make my design dreams come true. They’re strong, they’re available in a clear color, and they fasten with a never-releasing-hold that blows my mind every time. Thank you to whoever invented the zip tie for making our flower work efficient and steady! This is a tip that I picked up from my friend and floral freelancer Chelsea—thank you, Chelsea! (Lastly, another reason to keep those clippers in your back pocket throughout the setup: zip-tie clippin’!)
4. Chicken Wire
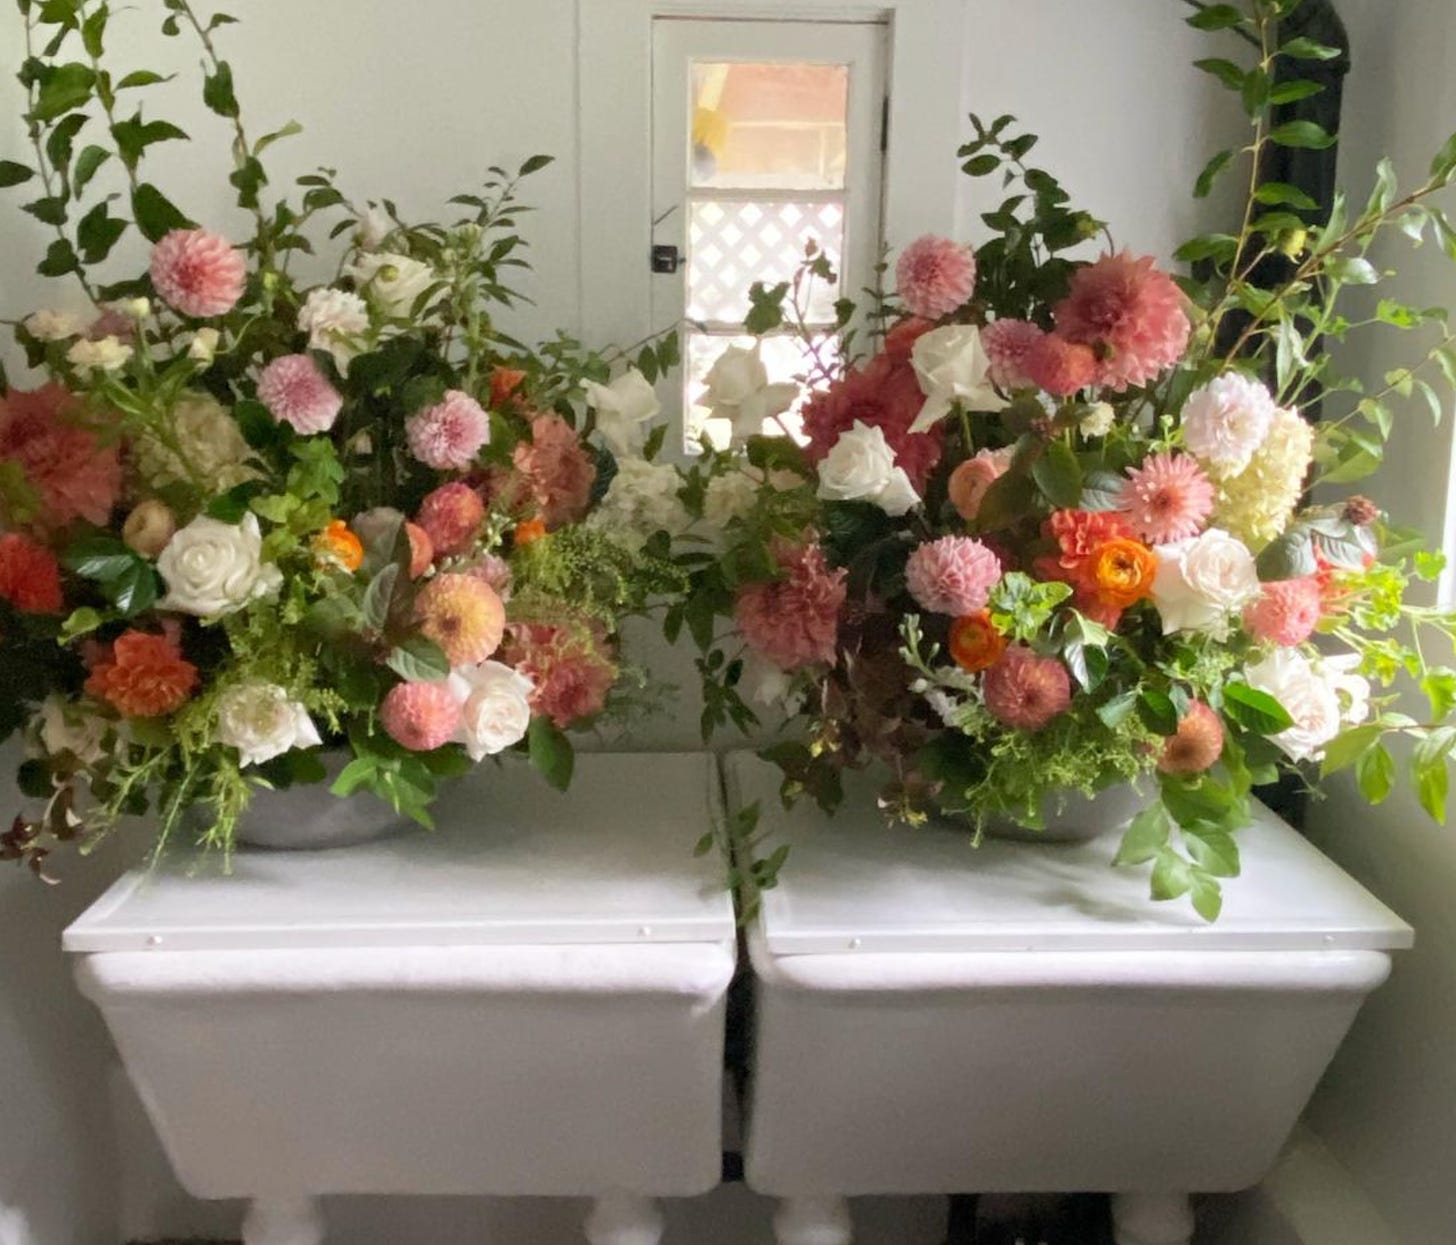
If you’re not a floral worker, you’ve probably wondered how arranged flowers stay in place and upright. It’s because there’s a grid present that you likely can’t see. If you just put flower stems in a vase, they will, usually, fall to the edge of the vase, giving zero shape, form, interest. All arrangements start with a grid that acts as a base. Sometimes a grid is made with tape, and sometimes we use chicken wire, form it into the shape of a hollow ball, and add it to the vase or fasten it with zip ties to a ceremony structure. The chicken wire holds stems in place.
It often looks like magic when flowers are draped along a wall or cascading off of a table, and it’s our job as florists to make it look like that—like magic! But—truly—underneath the magic there are mechanics holding it all together. The best bang for your buck is to buy chicken wire from a hardware store (so much less expensive than buying from a flower wholesaler). Try chicken wire in the next arrangement you make at home!
5. Tape
I never leave the studio for a wedding setup without three kinds of tape.
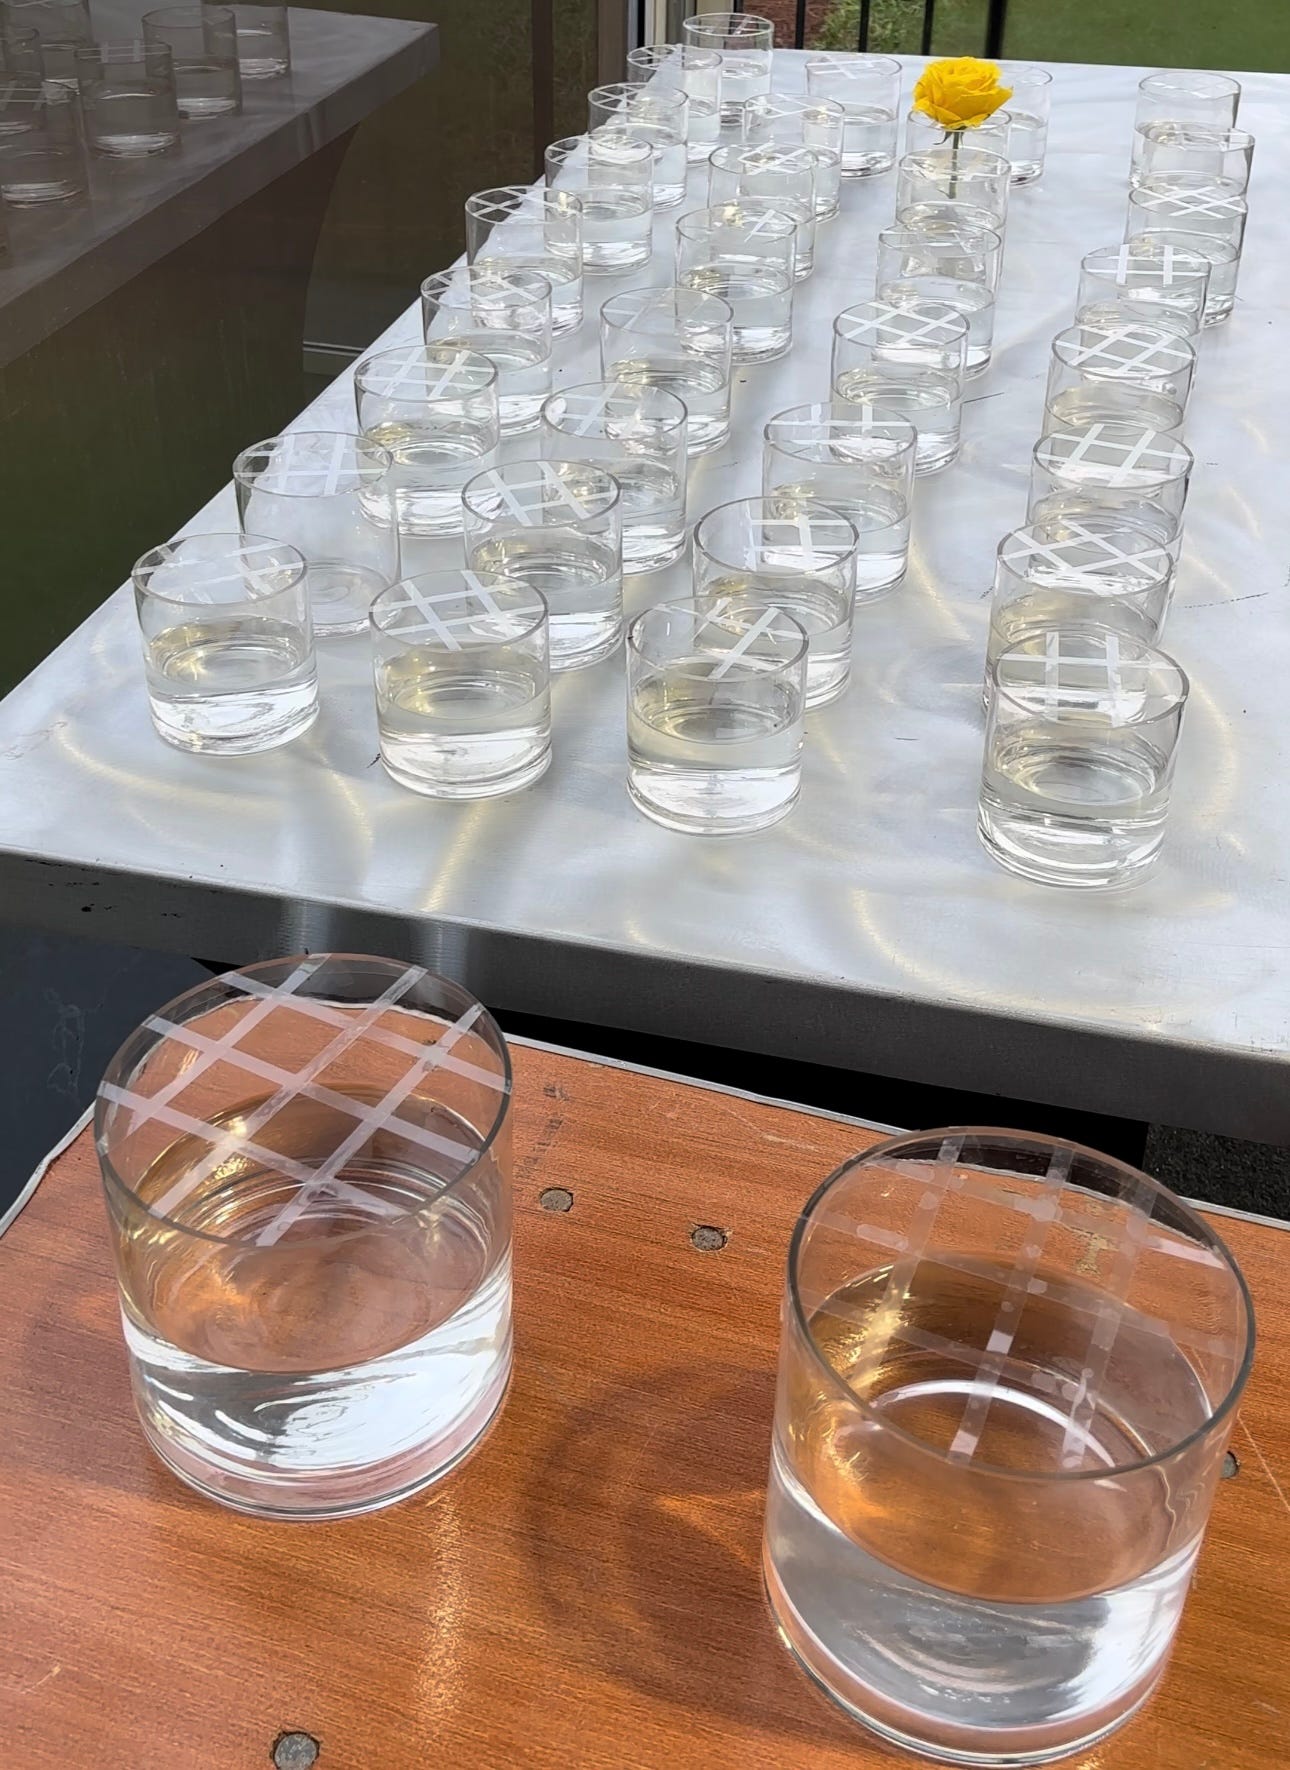
Clear tape – To make smaller arrangements, I use this to create a grid on the top of a vase. Almost every single centerpiece I create for a wedding has a clear tape grid on it, so naturally, this tape comes with me during setup in case we need to adjust the centerpieces onsite.
Green sticky tape – It’s like duct tape but it comes in green and it’s only about ¼ inch thin. We use it to wrap bouquets, because it’s pretty waterproof and the bouquet stems sometimes go in water. We also use it in large scale grids for ceremony arrangements. When we add a ball of chicken wire to the interior of a large urn, for example, we’ll use the green sticky tape to make sure the chicken wire stays fastened in place. I cannot even tell you how frustrating it can be to make an arrangement only for it to fall apart once you move it. Green sticky tape holds everything in place and is so reliable every time.
Boutonniere tape – This tape is soft and feels as though there is no adhesive on either side. The adhesive releases when you stretch the tape, and it’s good for banding together boutonnieres and adding on an extra layer over green sticky tape to add a nice clean handle for a bridal bouquet.
6. Finishing Touch
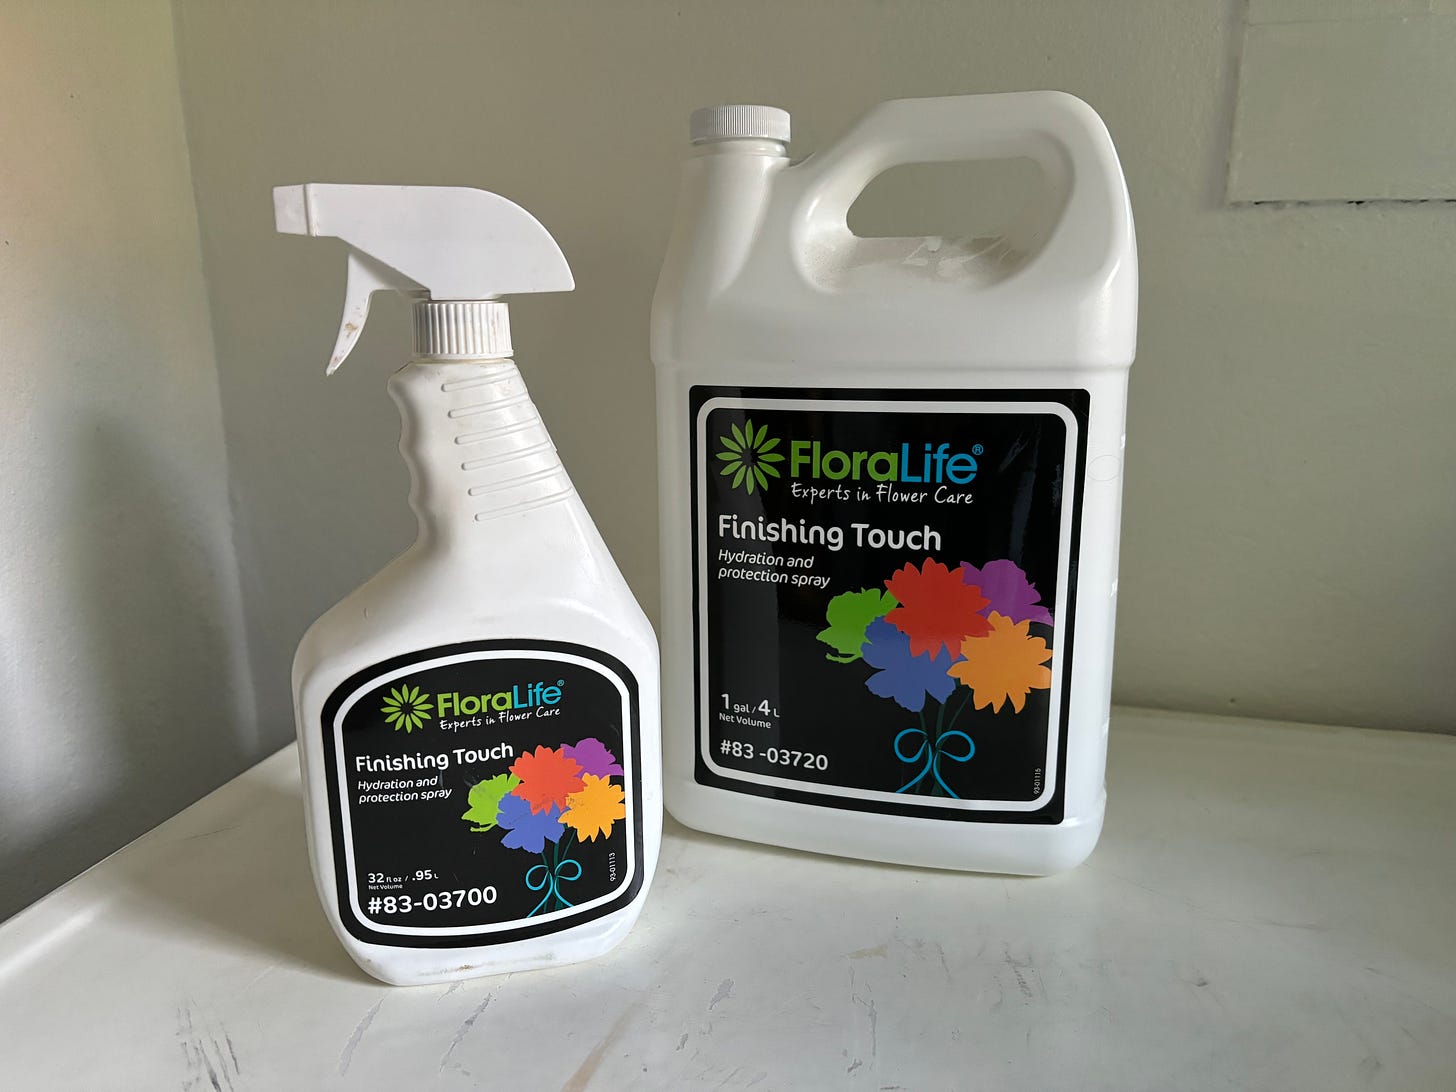
About six or seven years ago, I rented a space at my wholesaler to work on a large event. I was working alongside Bill Hamilton, who also was renting the space for one of his events. He’s pretty well known in Detroit and has been in the business for about forty years. As I was packing up all of my arrangements, Bill asked me if I was going to spray my flowers with Finishing Touch. When I said no, he was pretty taken aback. He said he never lets an arrangement walk out the door without spraying with this product. Finishing Touch is a product that adds a layer of hydration to the petals. This point bears repeating: hydration is life! I don’t use flower food in the water for any flowers; flowers can actually get glucose shock if the flower food isn’t measured out carefully. Instead, I’m vigilant about keeping every single container sanitized and free of bacteria. Fresh water and fresh cuts keep my flowers fresh, and they always get a spray of Finishing Touch. I don’t leave an event without it. Thank you, Bill, for passing this tip along!
